Table of Contents
Are you ‘yoga curious’? Or maybe you’re a yoga devotee, but are struggling to find time for yoga classes into your heavy schedule? In either case, this 10 minute morning yoga routine of beginning yoga poses is just the ticket to help you start and continue a convenient yoga practice that is healthy and enjoyable.
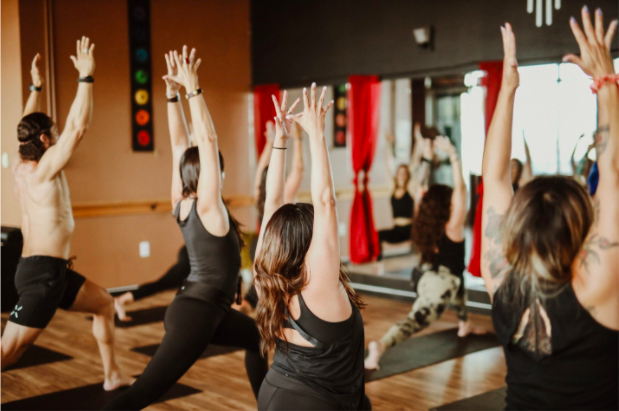
Why Yoga?
Yoga might seem intimidating, but as yoga instructor and founder of Vivify Yoga says in her podcast: it’s not just for bendy and skinny people.
Yoga is for everyone and anyone, and can be profoundly uplifting and life changing, once you get into the swing of it. The benefits of yoga are endless, and include everything from pain relief and injury prevention to improving sleep quality, cardiovascular health, and even your sex life. This is on top of the obvious benefit of increasing strength and flexibility, while boosting metabolism and weight loss.
But the intangible mental health benefits are also compelling. Yoga has been shown to lower stress, anxiety, depression, and addiction, while improving mood, focus, and relaxation. It can also strengthen important skills like patience, gentle persistence, and self acceptance. Yoga is very much a moving meditation, and reaps many of the same rewards.
And it doesn’t take hours of practice before you feel and see the difference. That is why this quick and simple 10 minute morning yoga routine of beginning yoga poses is designed to help you kick off a daily dose of yoga from the comfort of your own home.
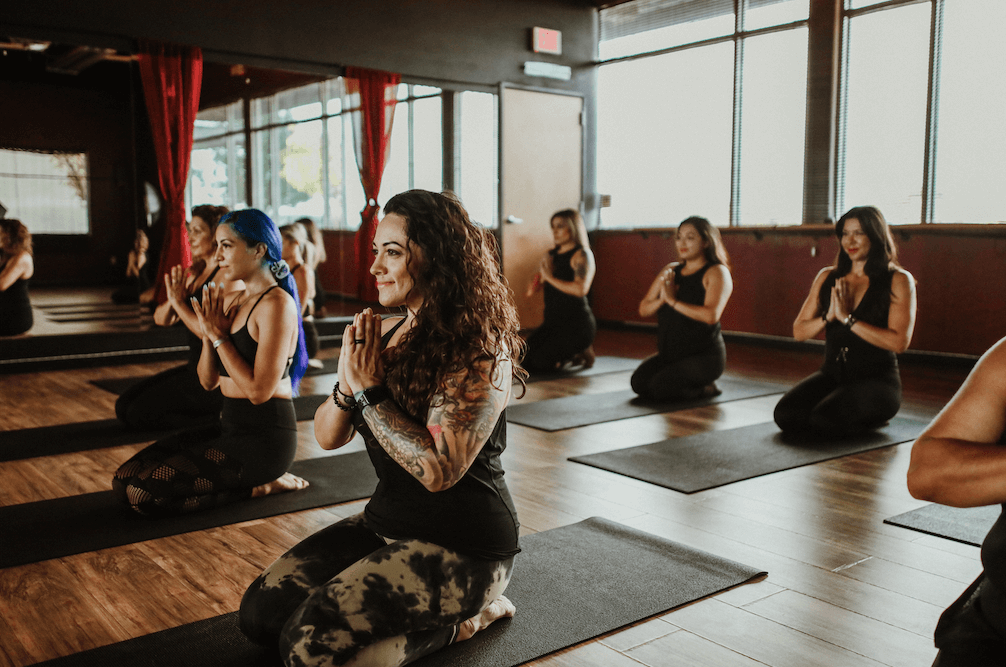
Your Yoga Instructor
Let me introduce myself. My name is Lisa Kehoe, co-founder of Vivify Hot Yoga. I am certified in Hatha Yoga, which means I have an education and understanding over Hatha as a whole, and the small groupings of styles within.
I am going to guide you through a simple beginner session to help you get your mind and body in the right space. This won’t require much time at all.
Basics of Yoga
Welcome to the one thing in life you are going to wish you had started sooner. It is also the one thing you will learn to accept that you found exactly when you were supposed to.
This is YOGA.
Let’s start with understanding a little bit of what yoga means.
Meaning of Yoga
The word yoga means “to yoke” or “to join”.
What are we joining? The three things that make up who you are: mind, body and soul. Life has a way of pulling us in different directions. Yoga seeks to help you find your way back to you, through you.
What is Yoga Hatha?
Here in the Western world, you may have heard terms like Ashtanga Yoga, Bikram, Yin, Buti, Power Yoga, etc. Believe it or not, all of these practices fall under Hatha Yoga.
How they are taught and at what level may be as different as the teacher teaching it. My advice is to try as many as you like until you find the one that fits you. Not all “yogas: are alike and just like shoes, one size does not fit all.
What to Wear in Yoga
Make sure you are dressed in something comfortable and breathable. I suggest clothes that are not too loose as they may move around and shift when you do not want them to.
When you find your quiet space, roll out your yoga mat. Don’t have a mat? That’s okay, but just be careful as some poses may cause you to slip. The mats are for added cushion and traction. If you do not have one yet, just be careful.
These beginning yoga poses will be slow, so you should be fine as long as you are cautious. Now we are ready to begin.
Beginning Yoga Poses: Breaking Out of Your Comfort Zone
In yoga we bring awareness to our body and all its parts. If something does not feel right and is painful, remember that is NOT the goal. Pain is important; it’s our body alerting us to something that needs attention. But, if you are uncomfortable and not in pain then keep breathing, and don’t give up. We never grow when we are comfortable.
10 Minute Yoga Morning or On-The-Go Flow
Let’s begin with finding a designated space to practice as free of distractions as possible. This will mean putting your phone on do not disturb, turning the TV off and, if you have kids, find a space where they won’t be interrupting. As a mother of three humans and two dogs I know this is a challenge, but I promise you are worth it.
If you like having music, aim for something relaxing and keep the volume at a comfortably lower level. You still need to be able to hear yourself think.
How to Set an Intention
I like to start my practice with an intention to help keep me focused. This is not mandatory, but if you want to, I say go for it.
What do you need right now? Think of a word to focus on. This word should be something you need right now. Not in ten years or later today but now.
Are you tired or exhausted? Maybe that word will be energy.
Are you in the midst of change in your life (even by starting this practice)? Maybe that word is change or growth.
Maybe that word is love or self acceptance because that’s what you need to feel as you begin this exciting journey into your practice.
What Are the 10 Yoga Poses for Beginners?
1. Savasana in Yoga
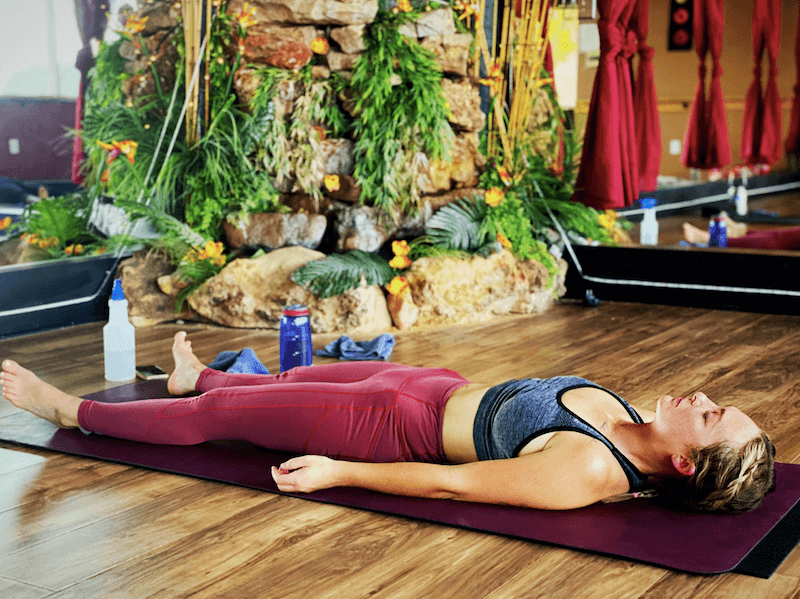
In yoga, you can begin your practice standing, lying down, or in a seated position.
Today, let’s begin lying down on your back with your arms at your side. Close your eyes. This pose is called Savasana (pronounced shavsana). It means corpse pose and it is a resting pose.
Lay still on your mat as we engage in belly breathing. Breathe in deeply and slowly through your nose, and allow your belly (not your chest) to rise. Actively fill your belly up with air and as you exhale do so through your nose as well while actively making an effort to pull your belly button sharply to your spine.
This style of breathing is what you did when you were born, before life circumstances changed that.
This may feel a little strange and your rhythm of breathing may be a bit off if this is your first time. So, take a few moments to yourself and repeat this until you find a nice steady rhythm. We are going to do this for 10 to 15 breaths. We want to make our inhales long and drawn out and we also want our exhales to be long and drawn out.
I want you to bring awareness to your breath as you do this:
What does your breath feel like? What does it sound like?
Breathe and allow whatever thoughts enter your mind to also float on by and away. If at any time you become emotional during your practice, please know that it is normal. Let go of any negative thoughts or feelings. Repeat that intention to yourself to get you back to your breath and the present moment.
Ready? Let’s move!
Gently bring your knees to your chest as you inhale. Wrap your arms around your legs and gently rock side to side. This will massage the lower back a little bit as we start to let the body know to prepare for movement.
2. Sukhasana Position: Easy Pose in Yoga
Rock up to a seated position with your legs crossed. Slightly tuck your pelvis and sit up nice and tall. Roll the shoulder up towards your ears as you inhale and move them back and down, squeezing your shoulder blades together as you exhale the shoulders down.
Repeat this circular movement continuing to roll the shoulders up as you inhale and exhale them down and back for about five or six breaths. One breath is an inhale and an exhale. When finished inhale the shoulders up and back exhale them down and forward for another five or six breaths.
3. Cactus Pose
Staying seated let’s take an inhale, and raise our arms high while dropping the shoulders down slightly. Exhale and pull your arms down to a cactus shape making a 90 degree bend at the elbows, squeezing the shoulder blades together.
You should feel a nice opening in the chest. Slowly let’s repeat this motion four times moving with your breath.
4. Tabletop Pose
Place your palms on the ground in front of your legs and gently move to being on all fours in a table top position.
Your palms should line up on the floor so that they are directly straight down from your shoulders. Not in front of or behind them. Your knees should then line up directly below your hips.
We refer to this in yoga as “stacking the joints.” I like to think of stacking blocks like in the game Jenga. As you may know from playing Jenga, when the blocks are not stacked evenly for balance ,the tower falls. Yes, you could be that falling tower, which could cause injury. That is why stacking the joints is important.
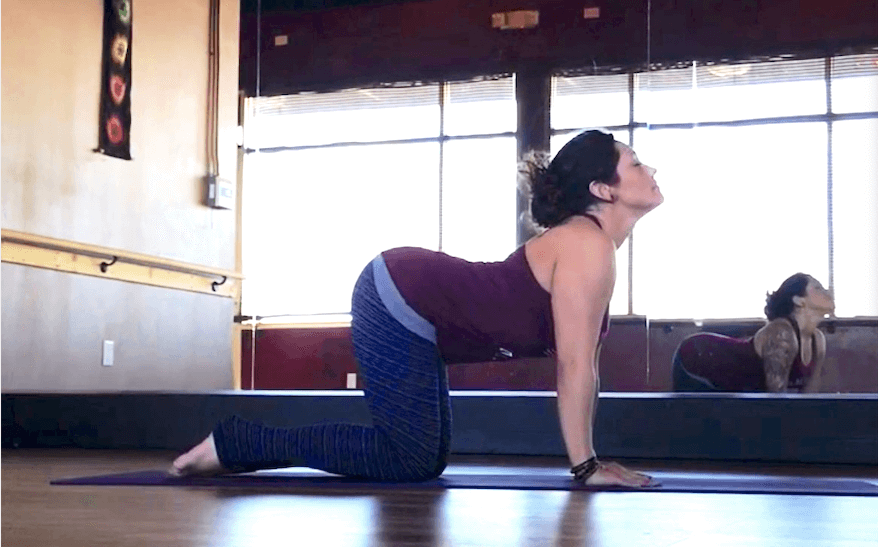
5. Cow Pose in Yoga
Let’s begin with cow pose. Take a nice slow inhale and allow your belly to fill and fall while lifting the tailbone and rolling your shoulders back. While staying on all fours, keep an upward gaze as you arch your back down. This is a nice backbend that allows you to stretch out the core muscles and reproductive organs.
6. Cat Pose in Yoga
We will now move to cat pose. While on all fours, exhale as you push the floor away with your palms, tuck your pelvis under, and pull your belly button to your spine rounding the back up as you move and drawing your chin to your chest.
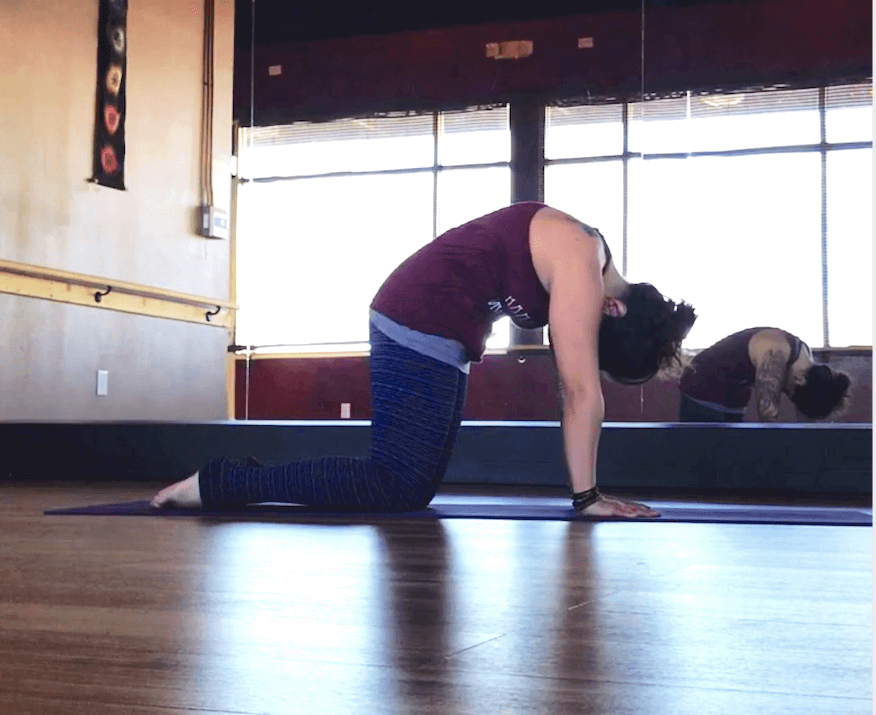
Repeat cow pose as you inhale and cat pose as you exhale at least four or five more times. This will help get some flexibility and fluidity through the spine. If you have any slipped disks or low back pain you can skip cat pose and focus on cow pose to a neutral spine in tabletop position.
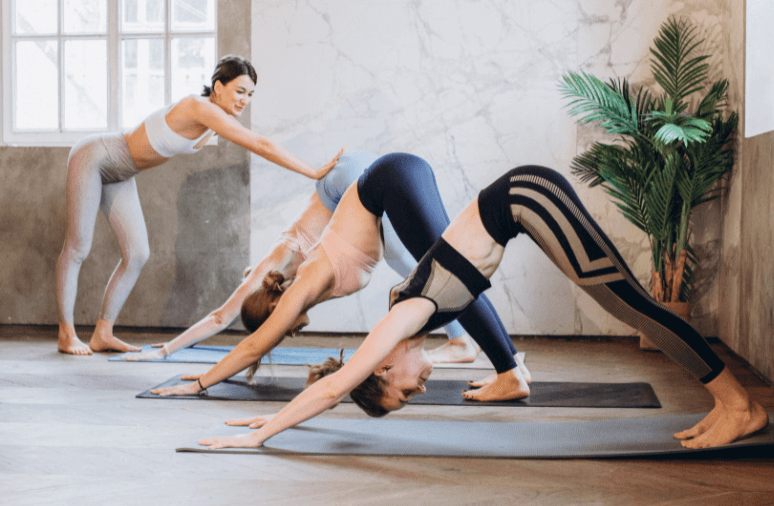
7. Downward Dog in Yoga
From your table top position, begin to lift your tailbone up to downward facing dog. Make sure your fingers are spread nice and wide. Our goal here is a nice flat back.
When you are new, your heels might not touch the floor (yet). Be patient, give it time, and eventually they will as you build consistency with your practice. Until then just keep your focus on a flat back.
You may need to bend your knees to make this happen. It is perfectly fine to do so. We do not want a rounded spine in a downward facing dog.
Your eye gaze should be looking towards your shins. Keep space in the neck. In other words pull the shoulders down away from the ears and rotate them externally. This will allow your chest to drop naturally and assist in flattening the spine.
Smile and breathe. You’re doing great!
When you look back at your shins you should see that your feet are slightly apart, about hips width apart to be exact. Continue to inhale and exhale. As you exhale each time, work on drawing the shins to the floor and the naval (belly button) towards the spine.
Slow breathe here. There is no need to rush. Allow your body to ease into this movement.
8. Forward Fold in Yoga
Next, begin to walk your feet up to your hands. Move slowly and try to not bend your knees as much as possible. In the beginning they will bend a little and that is okay. The goal is just to bend them as little. You will now be in a forward folding position.
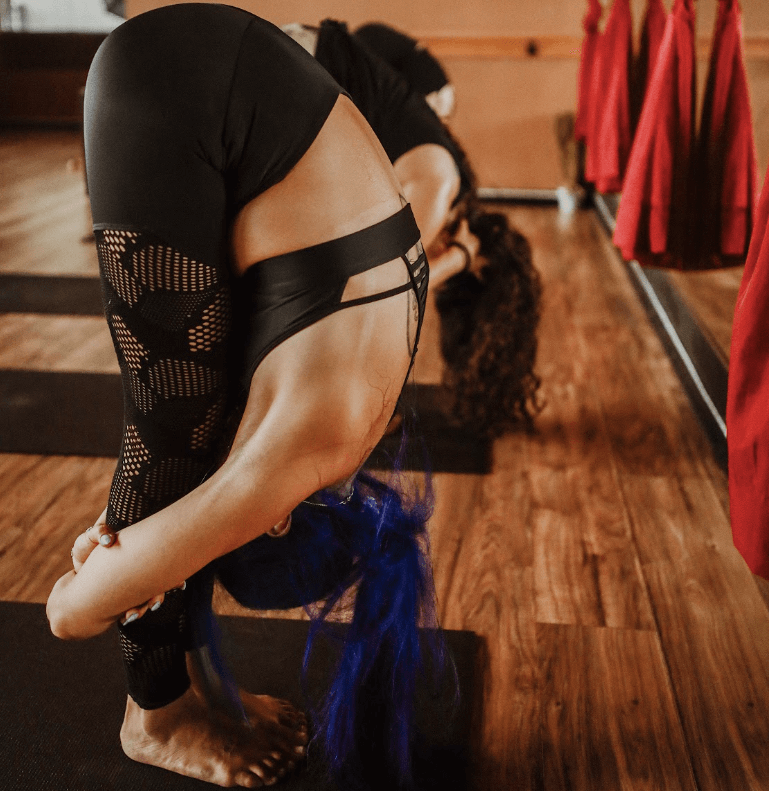
If you feel pain in the lower back, I recommend dropping to your knees in child’s pose and avoiding any deep forward folds until your back is ready.
You’ve got this.
You can also bend your knees as much as you need, straightening your knees and lifting through the tailbone with every exhale. I recommend nodding your head and shaking your head to release tension in your neck a few times. We have a habit of trying to hold our heads up. While standing this is necessary of course but in this position it creates tension which is something we do not want to do.
Relax and let go. Stay here in this forward folding position for 5 or 6 breaths.
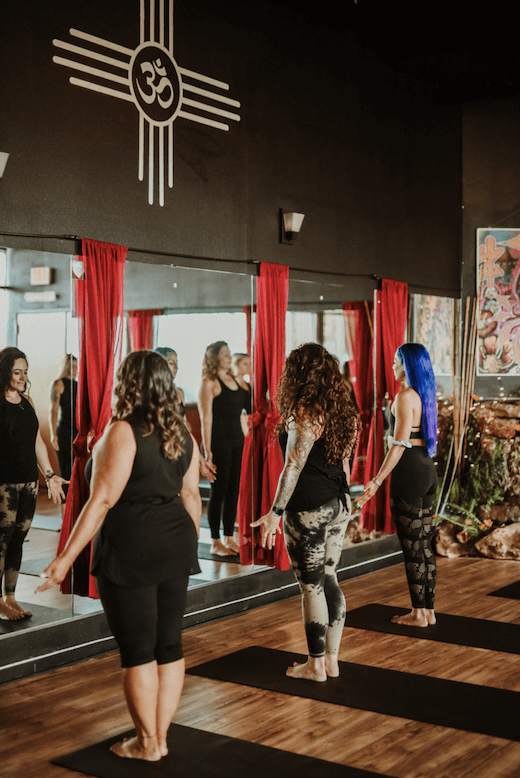
9. Mountain Pose in Yoga
Next, we will begin to roll up to a standing position starting from the base or your spine. You want to move as slowly as you can, letting your fingertips trace the front of your legs. We want to move vertebrae by vertebrae. As you arrive in a standing position the chin should be the last thing to rise.
Squeeze and engage your thighs to help protect the back. Roll the shoulders up towards your ears back and down. Eye gaze straight ahead. Hands are at your side with fingers reaching for the ground. You have arrived strong in your mountain pose.
Inhale through the nose lifting your arms high up above you, relax your shoulders down and exhale out of the mouth this time for a cleansing breath, slightly back bending letting your head fall back and your chest rise. Keeping our upper legs and glutes engaged for stability and back protection.
10. Beginning Yoga Poses: Crescent Lunge
Inhale to lift the arms up again keeping them raised step your left leg back into a lunge position. With the arms remaining overhead this is called crescent lunge.
It’s important that your feet remain lined up with your hips (and not lined up with each other) in order to protect your knees from injury. To modify. simply drop to one knee. With the arms still reaching high above hands to the sky you want to gently move the shoulders downward toward the hips to keep a nice long neck. Think of keeping your shoulders away from the ears.
We will stay in this position for about five or six breaths. Every exhale feels your body easing into this position. After you have completed your breaths, gently step your left leg forward to a standing position, arms still raised above your head. Take a nice big inhale through your nose, reach up and exhale out the mouth to a slight back bend.
Stay here in your forward fold for just a few breaths.
Now, repeat the beginning yoga poses on the other side.
Inhale, stand up tall again, and exhale down into a forward folding position. Here we go. Inhale and roll up vertebrae by vertebrae to mountain pose. Inhale to raise your arms up high. Exhale to slight back bend. Inhale arms high overhead and step your right leg back into that nice crescent lunge position.
Check to make sure that the feet are again aligned with the hips. Make sure to stay here as well for the same amount of breaths as you did on the other side.
You may repeat this process as many times as you like. To really get the blood flowing for this full ten minute routine, repeat this sequence twice on each side.
11. The Plank Position
Once you have completed the crescent lunge on each side, return to your mountain pose. Inhale the arms up, exhale to a slight back bend. Inhale the arms back up nice and slow, exhale to forward fold. From here bend the knees gently and place your palms on the ground. Step your feet back to a plank position.

You may modify if needed by bringing your knees to the floor. In plank position we do want to keep the shoulders just a tad in front of the wrists. Engage the core muscles and push the floor away to feel a nice opening in the shoulders. Let’s stay here for four or five breaths.
OK, had enough of this pose yet? Yep, plank naturally wakes up the entire body (if you haven’t figured that out by now).
12. Chaturanga in Yoga
Slowly, slowly lower your body, moving your arms to a 90 degree angle. Your arms and elbows should be hugging the rib cage. Elbows must be hugging the body; this is not a pushup. This is one of my favorites, known as “Charturanga”.
Hold here for a breath and then lower all the way down to the floor. Untuck your toes and gently raise your chest pressing the floor away with your palms.
13. Yoga Cobra Pose
Roll the shoulders back, eye gaze straight ahead. Feel the tops of your feet pressing into the floor. Welcome to cobra pose.
13. Beginning Yoga Poses: Child’s Pose Stretch
From Cobra pose gently push the floor away and move your hips back towards your heels into child pose.

I suggest finding what is comfortable here. The knees can be close together or spread apart to help open the hips. Pick your pleasure. Rest and breathe deeply with the arms outstretched on the mat. You can leave your palms facing down in this pose to let go of anything that does not serve you. Or if you are open to receiving what you need, or have your palms facing up. If you choose to have the palms facing up, this is the perfect time to repeat that intention to yourself. We will stay here for five or six breaths.
Cool Down and Close
14. Parsva Savasana or Fetal Pose
Begin to gently roll onto your side into a fetal position. I like to stay here for just three or four breaths. You may of course stay here a little longer if you would like.
When you are ready, gently make your way onto your back into savasana. Right where we started. I recommend staying in savasana for at least ten or fifteen deep belly breaths.
Enjoying a savasana at the end is so important. This is where we allow our bodies to absorb all the benefits of our practice and let go of whatever we still need to let go of. It’s important to lay as still as you can and avoid fidgeting or moving around. Instead just breathe and relax.
I hope that you have enjoyed this mini flow as much as I have enjoyed providing you with the order of the poses.
Yoga is a beautiful thing. Please remember to take time out for yourself every day. Morning, noon or night, it really doesn’t matter, but do it everyday.
Check in with you. Slow time down for just a little while and enjoy the benefits that yoga brings. Someone once told me that yoga opens the door, but it is up to you to walk through it. Congratulations on opening a door you most likely will never want to close. It only gets better from here.
What is the meaning of Namaste in Yoga?
As we say in yoga when concluding our practice: “Namaste,” which means, “The light in me sees and honors the light that is in you,”
If you enjoyed this taste of what Lisa has to offer, you’ll love the extended version of her classes and retreats. Check out Vivify Yoga on Instagram and Facebook, or visit their website for a schedule of classes.